


Processing Zoey
Another photography post. Same disclaimer as before — I’m not a professional, and I’ve got plenty left to learn.
I snapped a quick shot of our dog Zoey the other day. It wasn’t perfect, but I figured I’d play around and see what I could do to salvage it. Here’s the original jpeg from the camera.
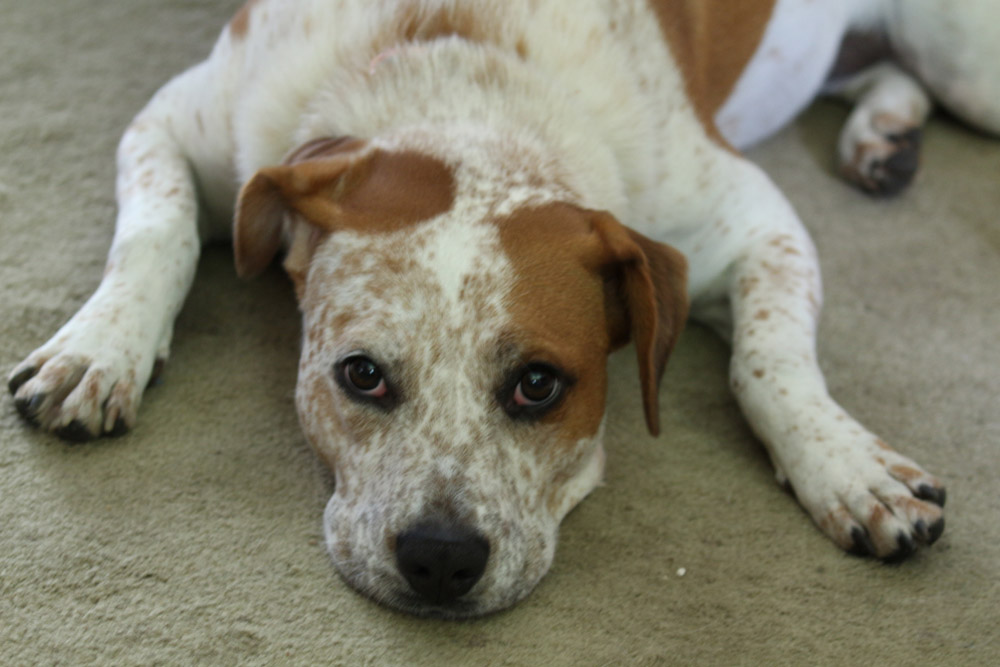
The first thing I did was open the RAW file and adjust white balance and color saturation. I also cropped and realigned it a bit.

Next step: Used Photoshop to remove that bit of Styrofoam in the lower right (with the clone stamp tool). I also added a contrast layer and used a hue/saturation layer to selectively brighten the reds, reducing Zoey’s chronically red eyes. Finally, I used the dodge tool to brighten her eyes a bit.
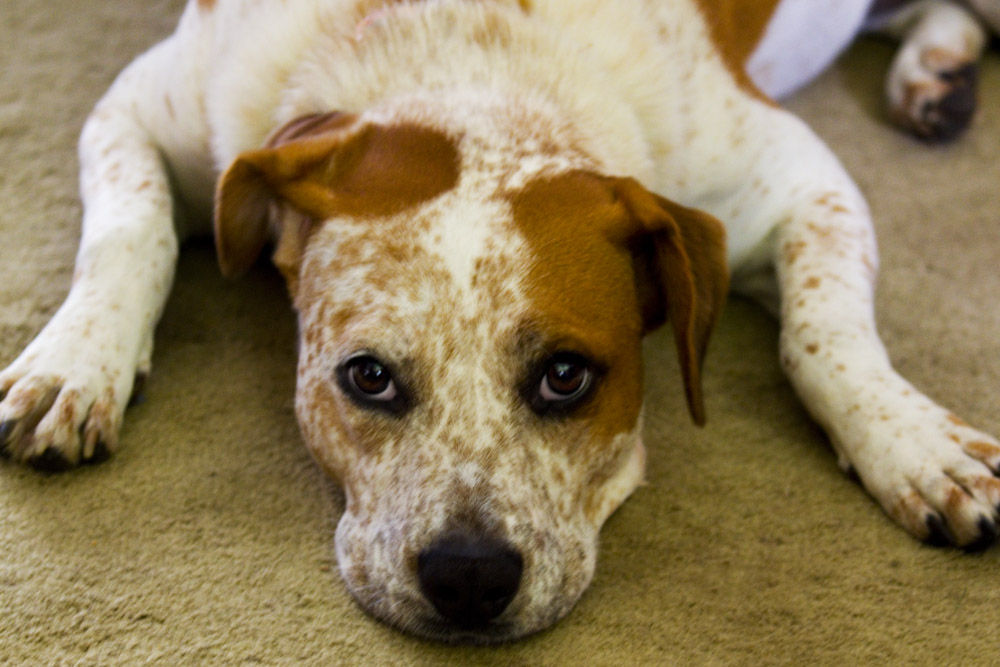
I added another masked layer to sharpen Zoey’s face. It can’t completely compensate for the blurriness of the photo — I took this shot inside, without much light, and the shutter speed was just too slow. But I think it helps some.
 At this point, I just start playing. I increased the contrast of her freckles, desaturated a bit, and added a vignette effect. I probably get carried away and overprocess things, but I’m having fun.
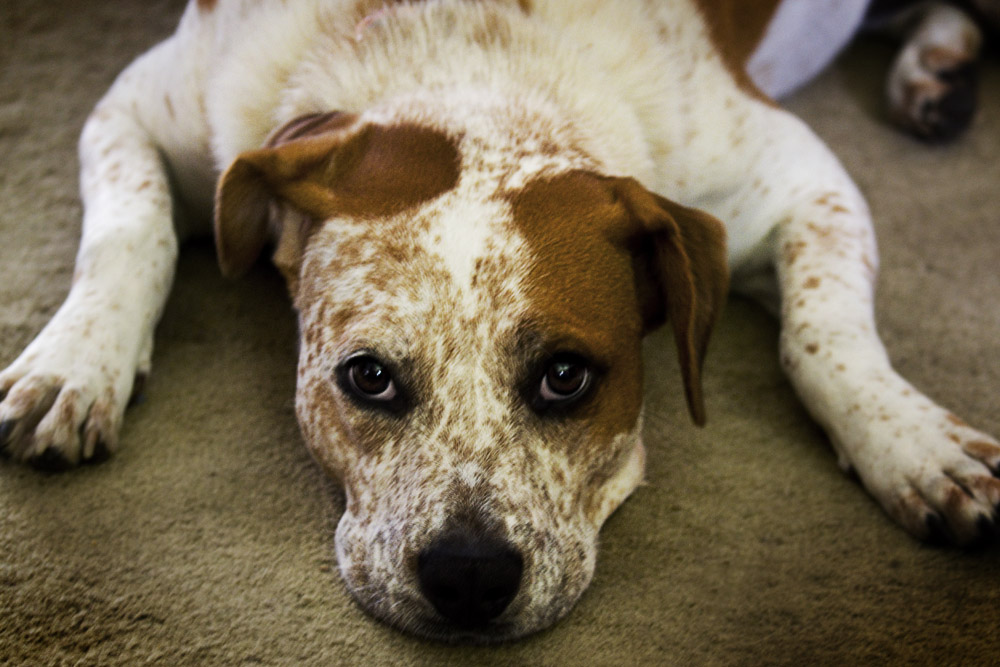 More playing — I added an overlay layer and tweaked the saturation again.
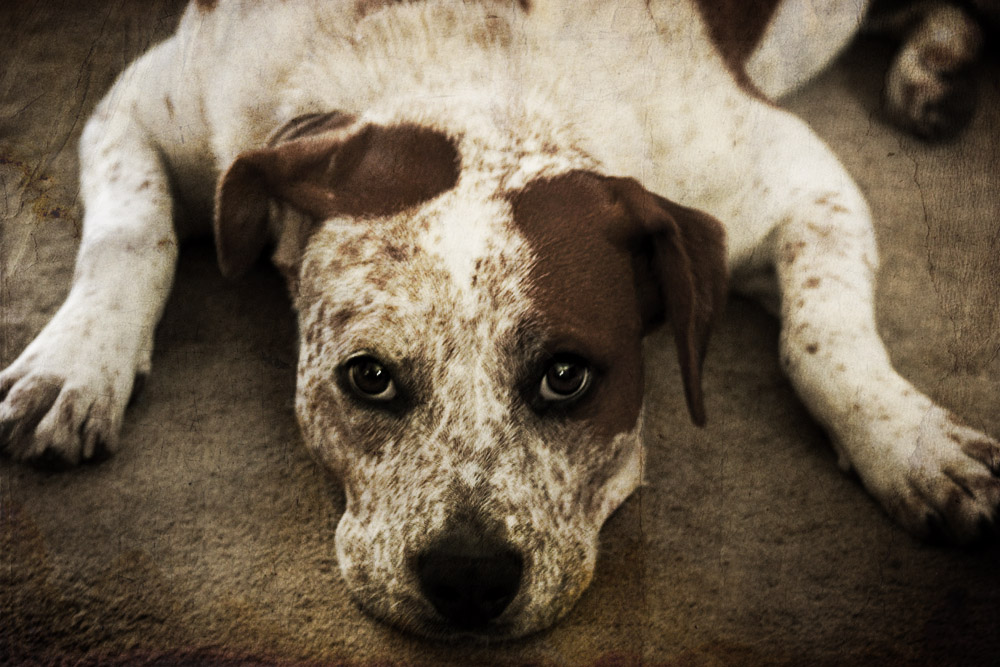
I could keep going. This stuff is addictive. But my kid really wants someone to inflate the wading pool on his last day before school starts, so I suppose I should head outside and do that.
Anyway, I hope this was at least moderately interesting to folks!
thomashewlett
September 6, 2016 @ 8:50 pm
First photo: “Zooey & Friends” this Fall on the Disney Channel!
Last photo: “Zooey: The Dark Knight” They’ll hate you for it, but that’s the point of Zooey, she can be the outcast. She can make the choice that no one else can make, the right choice.
Pat Sayre McCoy
September 7, 2016 @ 1:14 pm
I’m taking notes on your techniques here. So much easier than figuring it out on my own. Your photos are really nice after the editing.